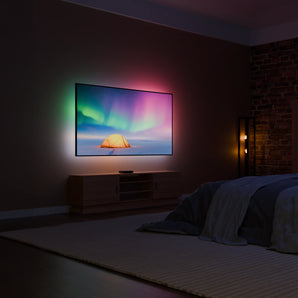
Configurar o AmbiSync 2 é rápido e fácil. Seja chamado de luz ambiente para TV, retroiluminação HDMI Sync ou faixa de LED dinâmica, este upgrade transformará a forma como você assiste a filmes, joga e aproveita o entretenimento. Siga estes passos para instalar corretamente o seu BULP AmbiSync 2 e levar a imersão a um novo nível.
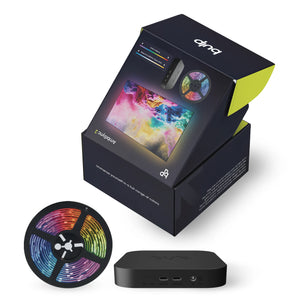
1. Desembale o kit – Sua experiência AmbiSync 2 começa agora
Retire com cuidado o seu kit de retroiluminação LED AmbiSync da embalagem. Dentro da caixa, você encontrará:
A faixa de LED
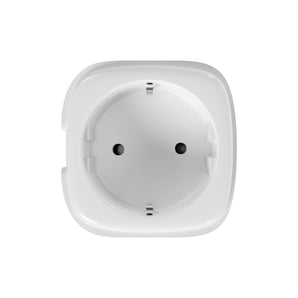
O adaptador de energia
A caixa de sincronização HDMI BULP
Todos os cabos necessários
Antes de iniciar a instalação, certifique-se de que possui todos os componentes.
2. Posicione as faixas de LED – Iluminação uniforme, máximo efeito
Para obter a melhor iluminação ambiente, fixe as faixas de LED reativas da BULP na parte traseira da TV. Siga estes passos para um posicionamento ideal:
Comece no canto inferior esquerdo da TV.
Fixe a faixa de LED e siga o contorno da tela no sentido horário.
Certifique-se de que os LEDs estejam uniformemente espaçados para um brilho equilibrado e envolvente.
Isso garante que o sistema de iluminação LED AmbiSync ofereça transições de cores suaves e dinâmicas, sem áreas escuras ou falhas.
3. Conecte os cabos HDMI – O coração da iluminação dinâmica
O seu sistema de iluminação BULP HDMI Sync reflete, em tempo real, o conteúdo exibido na tela. Veja como conectá-lo corretamente:
Conecte o cabo HDMI BULP à saída HDMI da caixa de sincronização.
Conecte a sua TV Box, Chromecast, console de jogos ou dispositivo de streaming à entrada HDMI da caixa de sincronização.
Insira o cabo da faixa de LED na porta "LED Strip" para concluir a conexão.
Com todas as conexões feitas, o seu sistema de retroiluminação LED inteligente estará pronto para reagir a cada cena dos seus filmes, séries e jogos favoritos.
4. Conecte a energia – Hora de iluminar
Conecte o adaptador de energia do AmbiSync 2 a uma tomada próxima. Assim que for ligado, o sistema de iluminação LED Sync começará a criar um brilho vibrante que se ajusta em tempo real ao conteúdo da tela.
5. Ligue a TV – Relaxe e aproveite
Ligue a TV e veja como o sistema de retroiluminação HDMI se sincroniza instantaneamente com o seu conteúdo – sem aplicativos, sem configurações complicadas, apenas imersão total. O kit de iluminação AmbiSync 2 ajusta automaticamente as cores conforme o que você assiste, garantindo uma experiência cinematográfica desde o primeiro momento.